Elementor is one of the most popular page builders and template systems for WordPress. Clemson Web Design uses Elementor on most of the WooCommerce and WordPress based websites we build. While the Elementor page builder offers tons of functionality and features over the WordPress default page editor. It’s important to remember that with the great power Elementor provides, comes great responsibility when building your website. All it takes is a bad layout, one wrongly sized image, or one bad setting, and your website can come to a crawl.
To optimize a WordPress Elementor based website, the core principles across any Elementor website stay the same. Optimize your layout, optimize your content, optimize your platform.
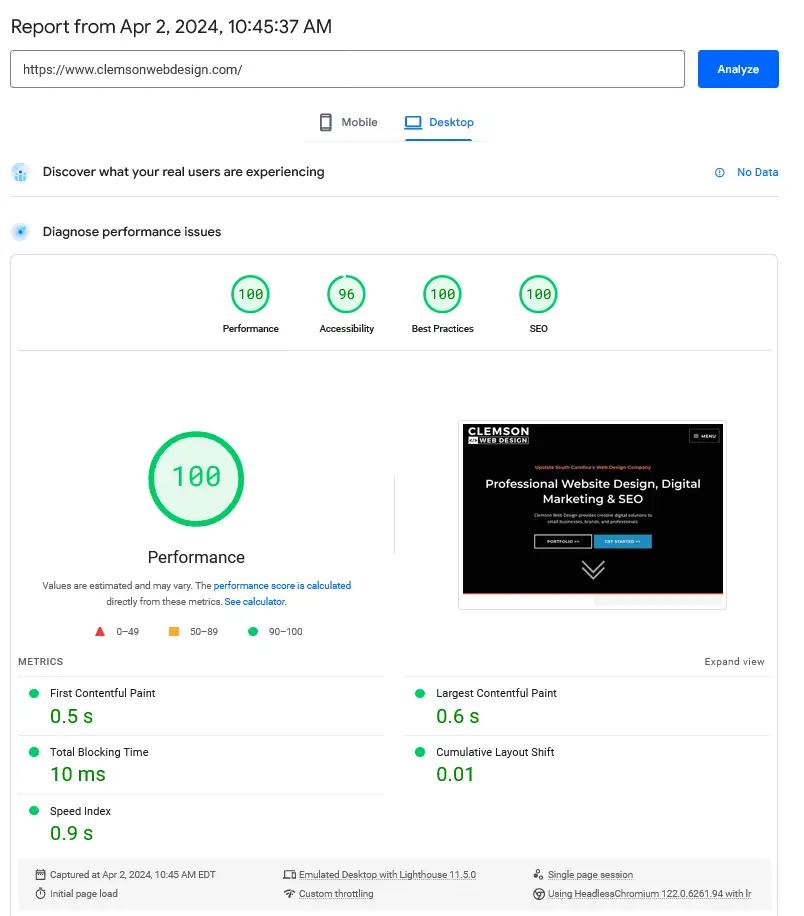
WordPress Elementor Layouts
The most efficient way to create your pages and post in the WordPress Elementor page builder is by using the container elements within Elementor. It’s important to use the flex controls to layout your content with as few containers as possible. The more containers and elements you add to an Elementor page, the larger your DOM (Page) size becomes and the longer the page takes to render on your visitors web browsers.
Along with containers. Widgets play a huge part in that DOM size. You only want to use widgets and elements where it makes sense too.
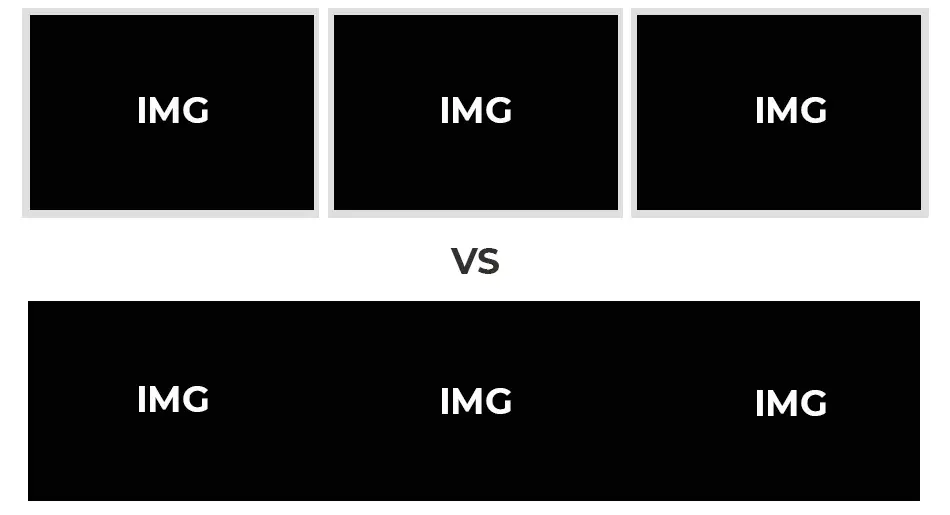
For example, If you have 3 images side by side within your layout. You could create a container for each image, then place 3 image widgets inside of each container.
To correct this for optimizing. It makes more sense and is a much smaller DOM size if you use a single solo container, drop 3 image widgets inside of it, then use the flex layout controls to float the widgets side x side. Resulting in the same outcome, with much less code and overhead.
It’s also wise to consider any element or widget you place that has animations, a counter, a slider, or a swiper. Contains a javascript library that must load in order to provide that functionality. With every request for an asset (Image, video etc) that your website makes, the slower your website will become. You have to wait on the content assets to download when you visit a web page , and these assets have to become available to your web browser, before you can view them. Every asset and script added, is another request that needs to made, and another request that needs to be made from the web server.
Optimize Your Content For Elementor
Optimizing the content you load on your website with the WordPress Elementor Page Builder is the easiest way to a fast loading WordPress website. By optimizing your content, I mean every single image, video, icon, pdf file, that you post on your website. Your assets need to be optimized. If not embedding videos from Youtube. Every video you upload on your website needs to be optimized. Content is the greatest speed killer on websites. It’s imperative that you optimize as you build, and consider the end product as you’re developing and building your website.
Images:
To optimize images. It’s important to size the image correctly. You don’t want a 5000x5000px HD image where the layout only allows for a 500px image. The overhead to download the HD image is far greater than the 500px image.
I recommend using native .webp format using a lossy encoding. This will get any image down to compressed size for serving up on your website. While modules and plugins exist to encode images already uploaded to your WordPress website. It’s best to encode your images directly to webp, and not rely on your website’s server to process and encode jpg images to webp, after the fact.
Videos:
Using un-optimized video within Elementor and WordPress is a sure fire way to kill your page speed. All it takes is one un-optimized video to bring your web page to a crawl. The impact of video on page speed is enormous. It’s important to keep background and auto play videos as short as possible. I normally encode the videos in mp4 then future optimize them by compressing the video even more with webm format.
Cloud Convert, a online conversion service, does a great job at this.
https://cloudconvert.com/mp4-to-webm
It’s also important to consider lazy loading your videos and even hosting them off site on Youtube. While embedding Youtube videos possess its own challenges, hosting your videos on a 3rd party site like Youtube, will lessen the load on your web server. Elementor Page Builders Video Widget comes with a lazy load toggle option. If you set a cover photo, the video will be loaded on demand (click).
Elementor Settings
Elementor has been working on performance improvements over the last two years. If your website is more than 2 years old. To reap the Elementor development performance improvements, you will likely need to convert your old Elementor “Sections”, into “Containers”. Converting to Flex Containers will reduce your DOM size and greatly improve your website’s performance. To convert Elementor Sections into Containers is straight forward, but can be time consuming depending on your website.
https://elementor.com/help/convert-existing-sections-to-containers/
Other performance settings in Elementor involve enabling performance settings on the backend of the Page Builder in the Settings Menu. To access these settings. Go to Elementor > Settings > Features.
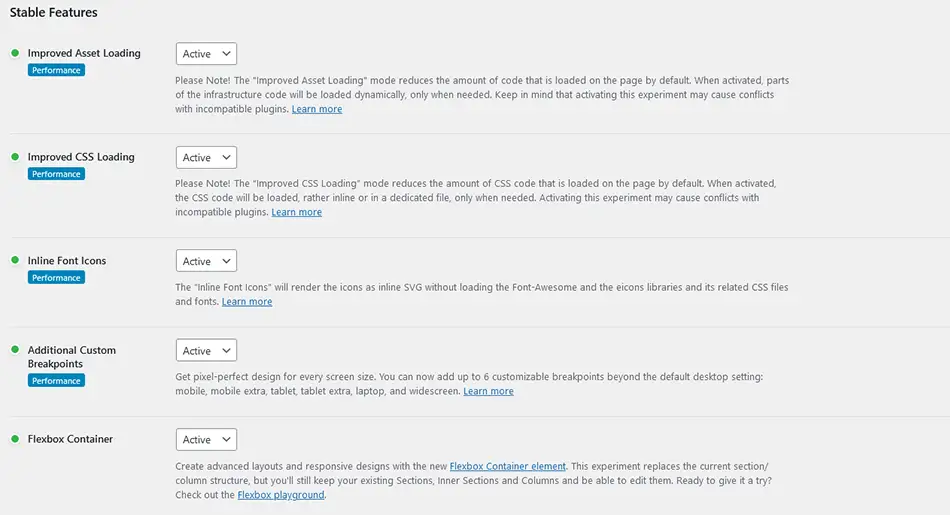
The most important settings here are to enable lazy loading of background images. Enable Flexbox Containers, Improved Loading Assets. Inline CSS and optimize image loading. Enabling these settings alone, will result in a better page speed.
WordPress Caching Systems
The WordPress eco system is full of premium and freemium caching and performance modules. In my experience the top modules are WP Rocket and W3 Total Cache. Clemson Web Design tends to use W3 Total Cache as it provides more free features out of the box. W3 Total Cache is a robust caching system that will optimize your website to its full extent. For the purpose of this article, we will focus on W3 Cache.
https://wordpress.org/plugins/w3-total-cache/
The first thing I do when setting up performance systems on a WordPress website is walk through the setup guide. To access the w3 cache setup guide. Open the module, Hover over the Tools Menu, click Setup Guide. Follow the guide through the setup process and click finish.
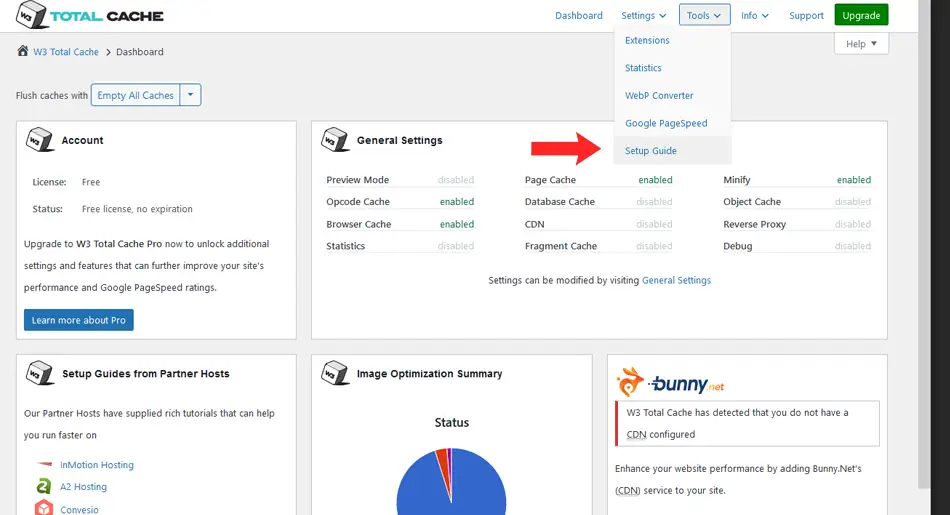
If everything went smoothly, your website should be loading faster already. If you encounter any issues, you might need to change specific caching types or disable them completely. For example, My preferred host Nexcess offers premium Object Pro Caching services. That means we wouldn’t need the object caching functionalities of w3 caching because our hosting already provides a better solution.
Another point of interest that I touched earlier, image optimization. During the W3 Cache setup guide, Will be an option to enable w3 total cache’s new Webp image optimization services. Enabling this option will cloud convert and replace your existing images with webp versions. The Image Conversion service offers 100 free image conversions per month.
Another main point of interest to me is the Minify and JS sections. Minify will combine, reduce, and stop render blocking assets from slowing down your website. Experiment and test here. You can gain some real improvements but be sure to browser test. Minification and loading Javascript async or Defer can cause lots of layout issues.
To read the full W3 Total Cache documentation. Please see https://www.boldgrid.com/support/w3-total-cache